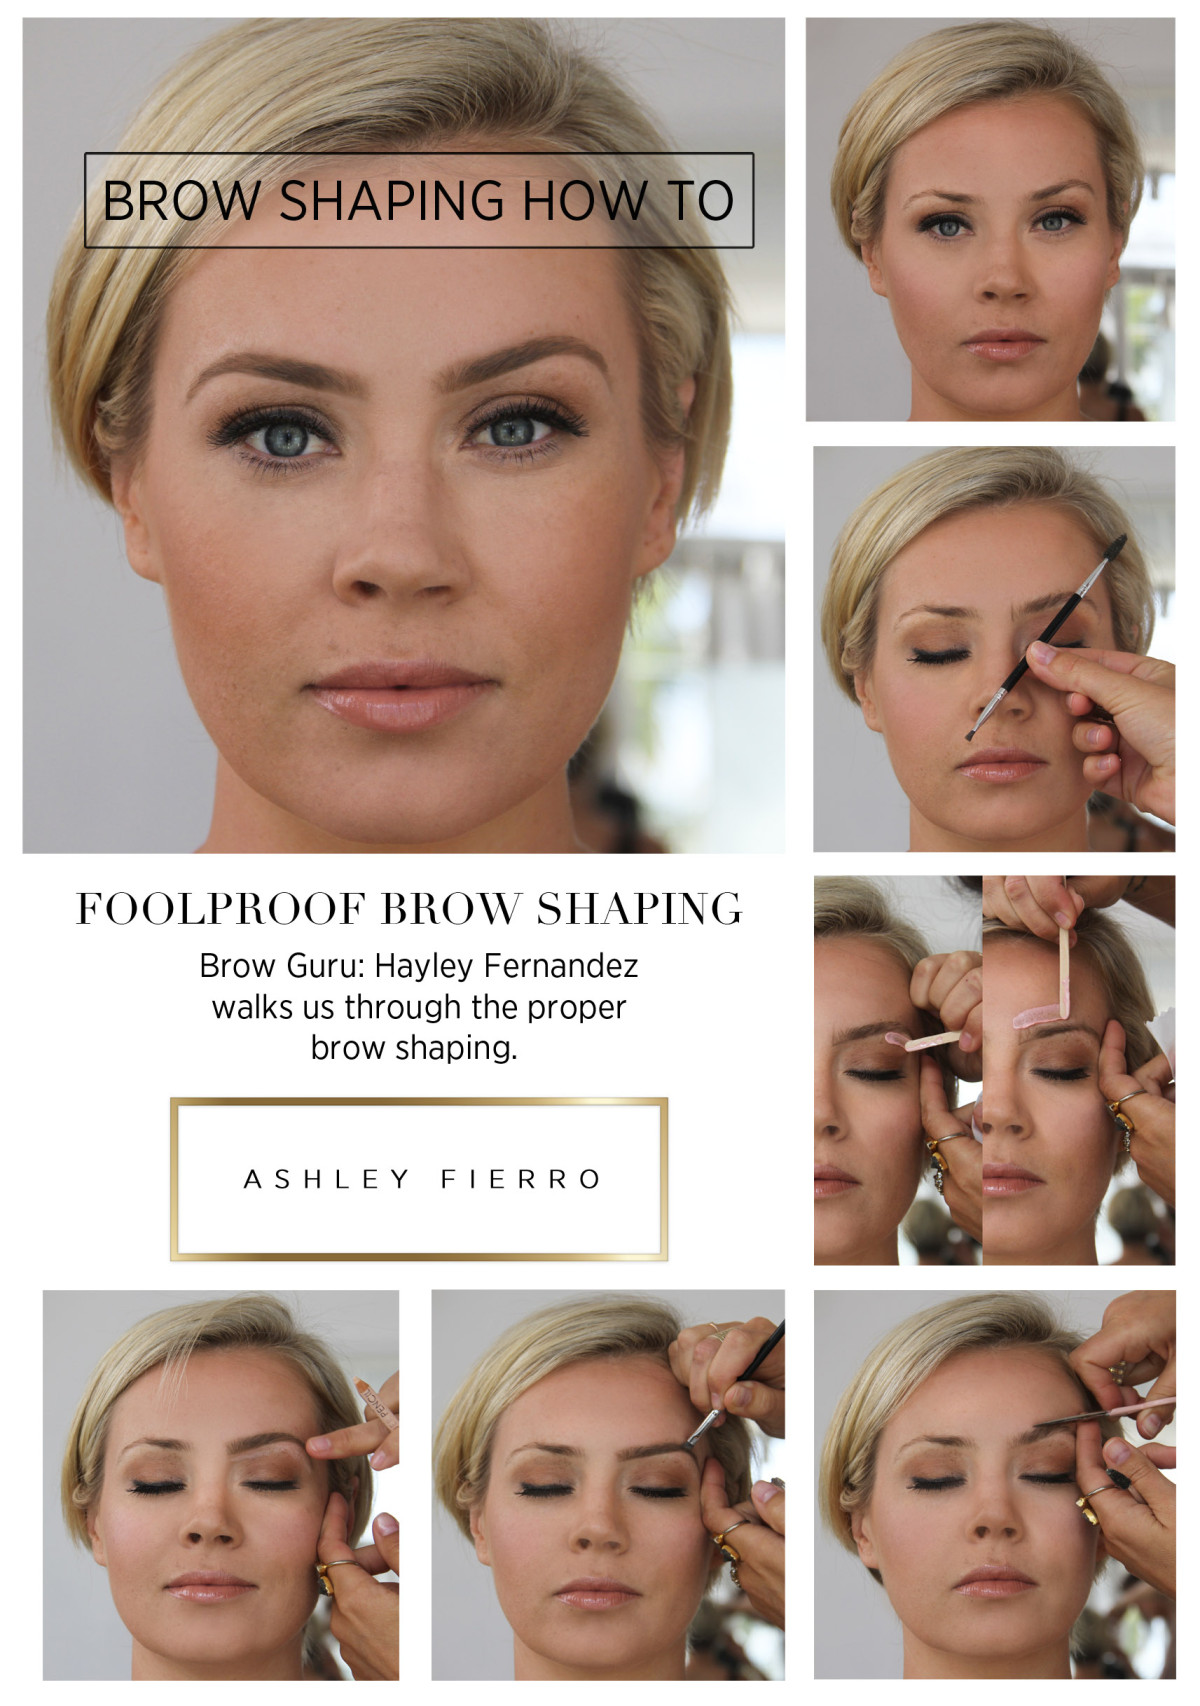
Ever wonder why your brows get jacked when you go to the nail salon down the street? It’s because you went to the nail salon down the street. Brows frame your face, and you shouldn’t leave such a critical component to your look to an amateur. People ask me all the time, what is your best makeup tip? My answer is get your brows done by a professional. Take the time and get professionally shaped – which is why we ONLY go to Anastasia Beverly Hills trained Brow Guru Hayley Fernandez.
Hayley walked us through how you should have your brows shaped. So take notes and make sure your next brow visit includes these steps! If not, go to Hayley. Book with her here.

STEP 1: Mark your points! Align up from the inside of your nose and mark your point. Then, make a 45 degree angel from the center of your nose for the peak of your arch. Using the same starting point on the center of your nose, align your brush with the corner of your eye to mark where the tail of your brow should start.

STEP 2: Make your line! Starting at your first point, mark a line along the edge of your hair to your brown arch point. Then a soft line from the arch point to the tail point. Some areas of hair may be above or below that line. If your natural hair is above that line, that is an area where you can try and grow-in or you can fill-in with a brow product. If hair is below that line, that is where your brow expert should pluck or wax.

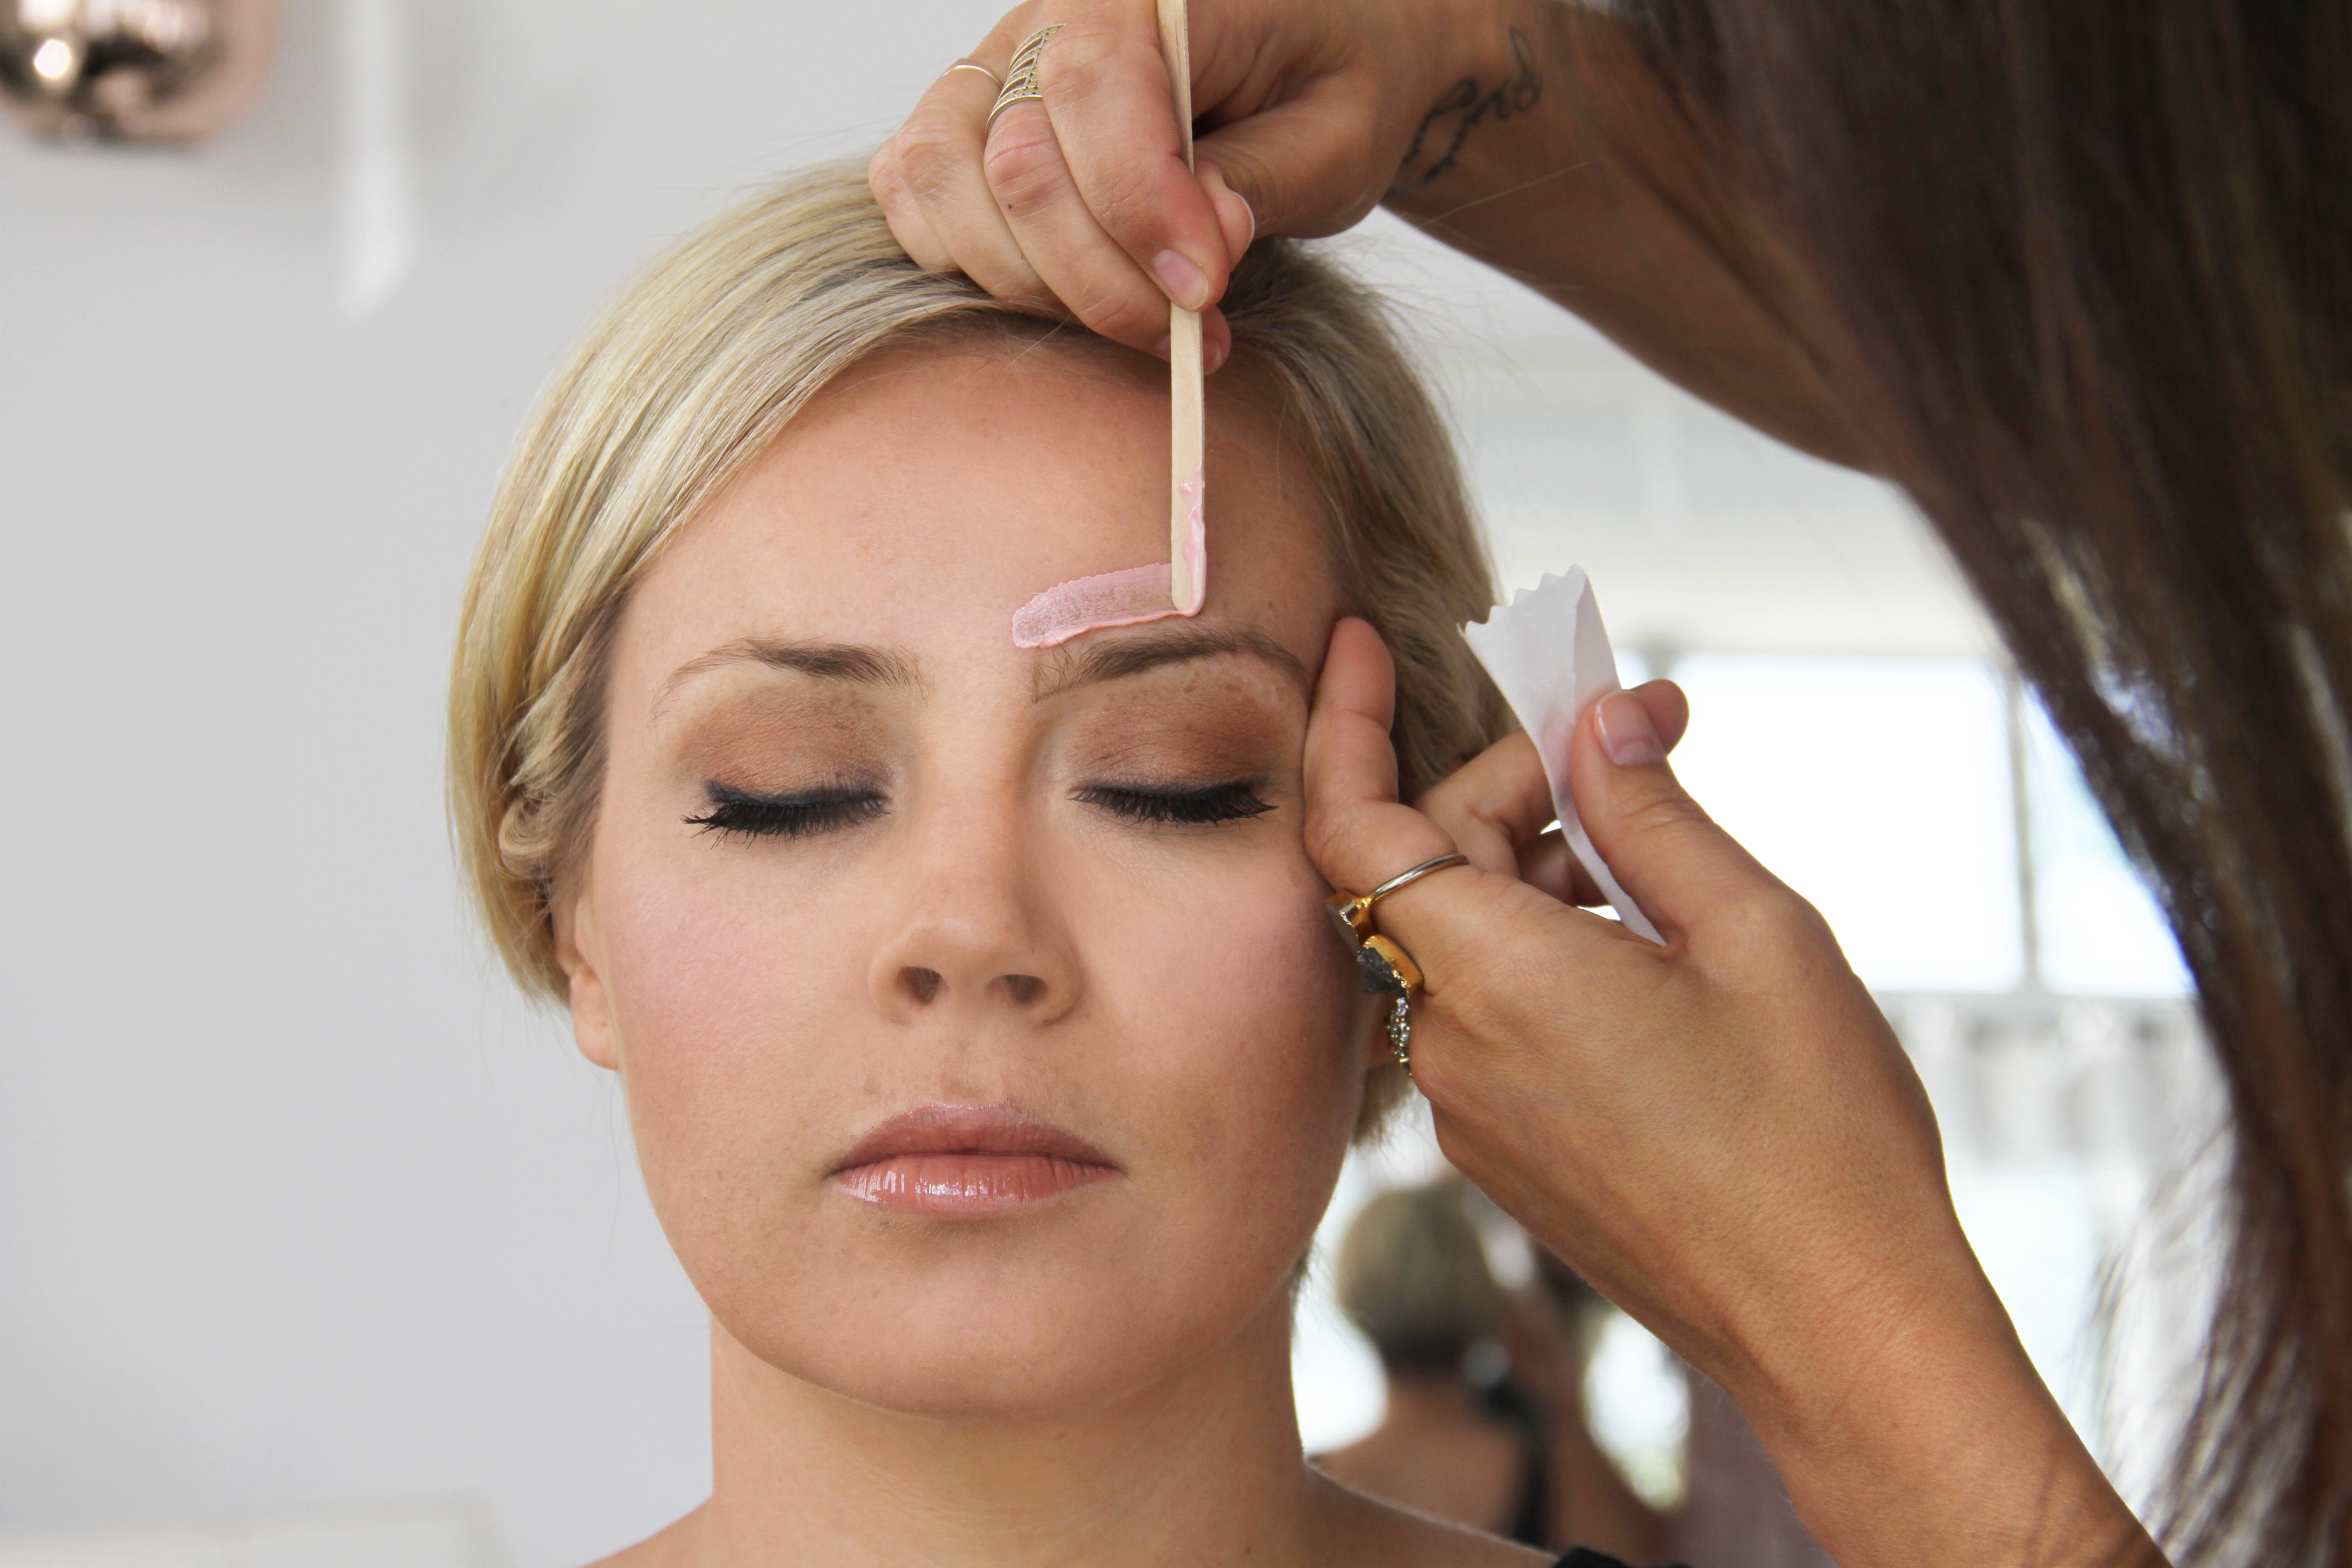
STEP 3: Wax! Make sure all hairs are brushed upwards in the direction of natural hair growth. In small sections, wax any areas under your brow that fall below the line you created in Step 1.

STEP 4: Wax again! Now, brush all hairs down, and clean up any hairs above your brown. Make sure all hairs are brushed down to not accidentally grab any important hairs.
STEP 5: Trim! Brush your brows back up trim any excess hair. This is a time you can also gently rub out the marking points. Go slow and be methodical. It is important that the hair are not too short to lay flat.

STEP 6: Fill in! We recommend the Anastasia Beverly Hills line of brow products to fill in your brows. If you are just starting out, use their Brow Powder with their Angled brush. In small strokes, go along the bottom line in a ticking motion. Then, fill in any sparse areas using that same motion. Next, gently fill in your top line. If you make any mistakes, you can always brush through to remove the powder. Lastly, brush through to make sure you have no dark or light spots and your brows have a natural appearance. PRO TIP! I like to brush through the front of the brow more than the arch and tail – to give a less harsh start to the brow.

STEP 7: Highlight! Using a Nude pencil (NYX Wonder Pencil $4.49 as shown here or Anastasia Pro Pencil $18), and gently draw a line under the brow line. Use your fingers in an upward motion to blend in. This will create a nice line, highlighting your brows. PRO TIP! Highlight even as your brows start growing in – it’s a great way to hide new growth.

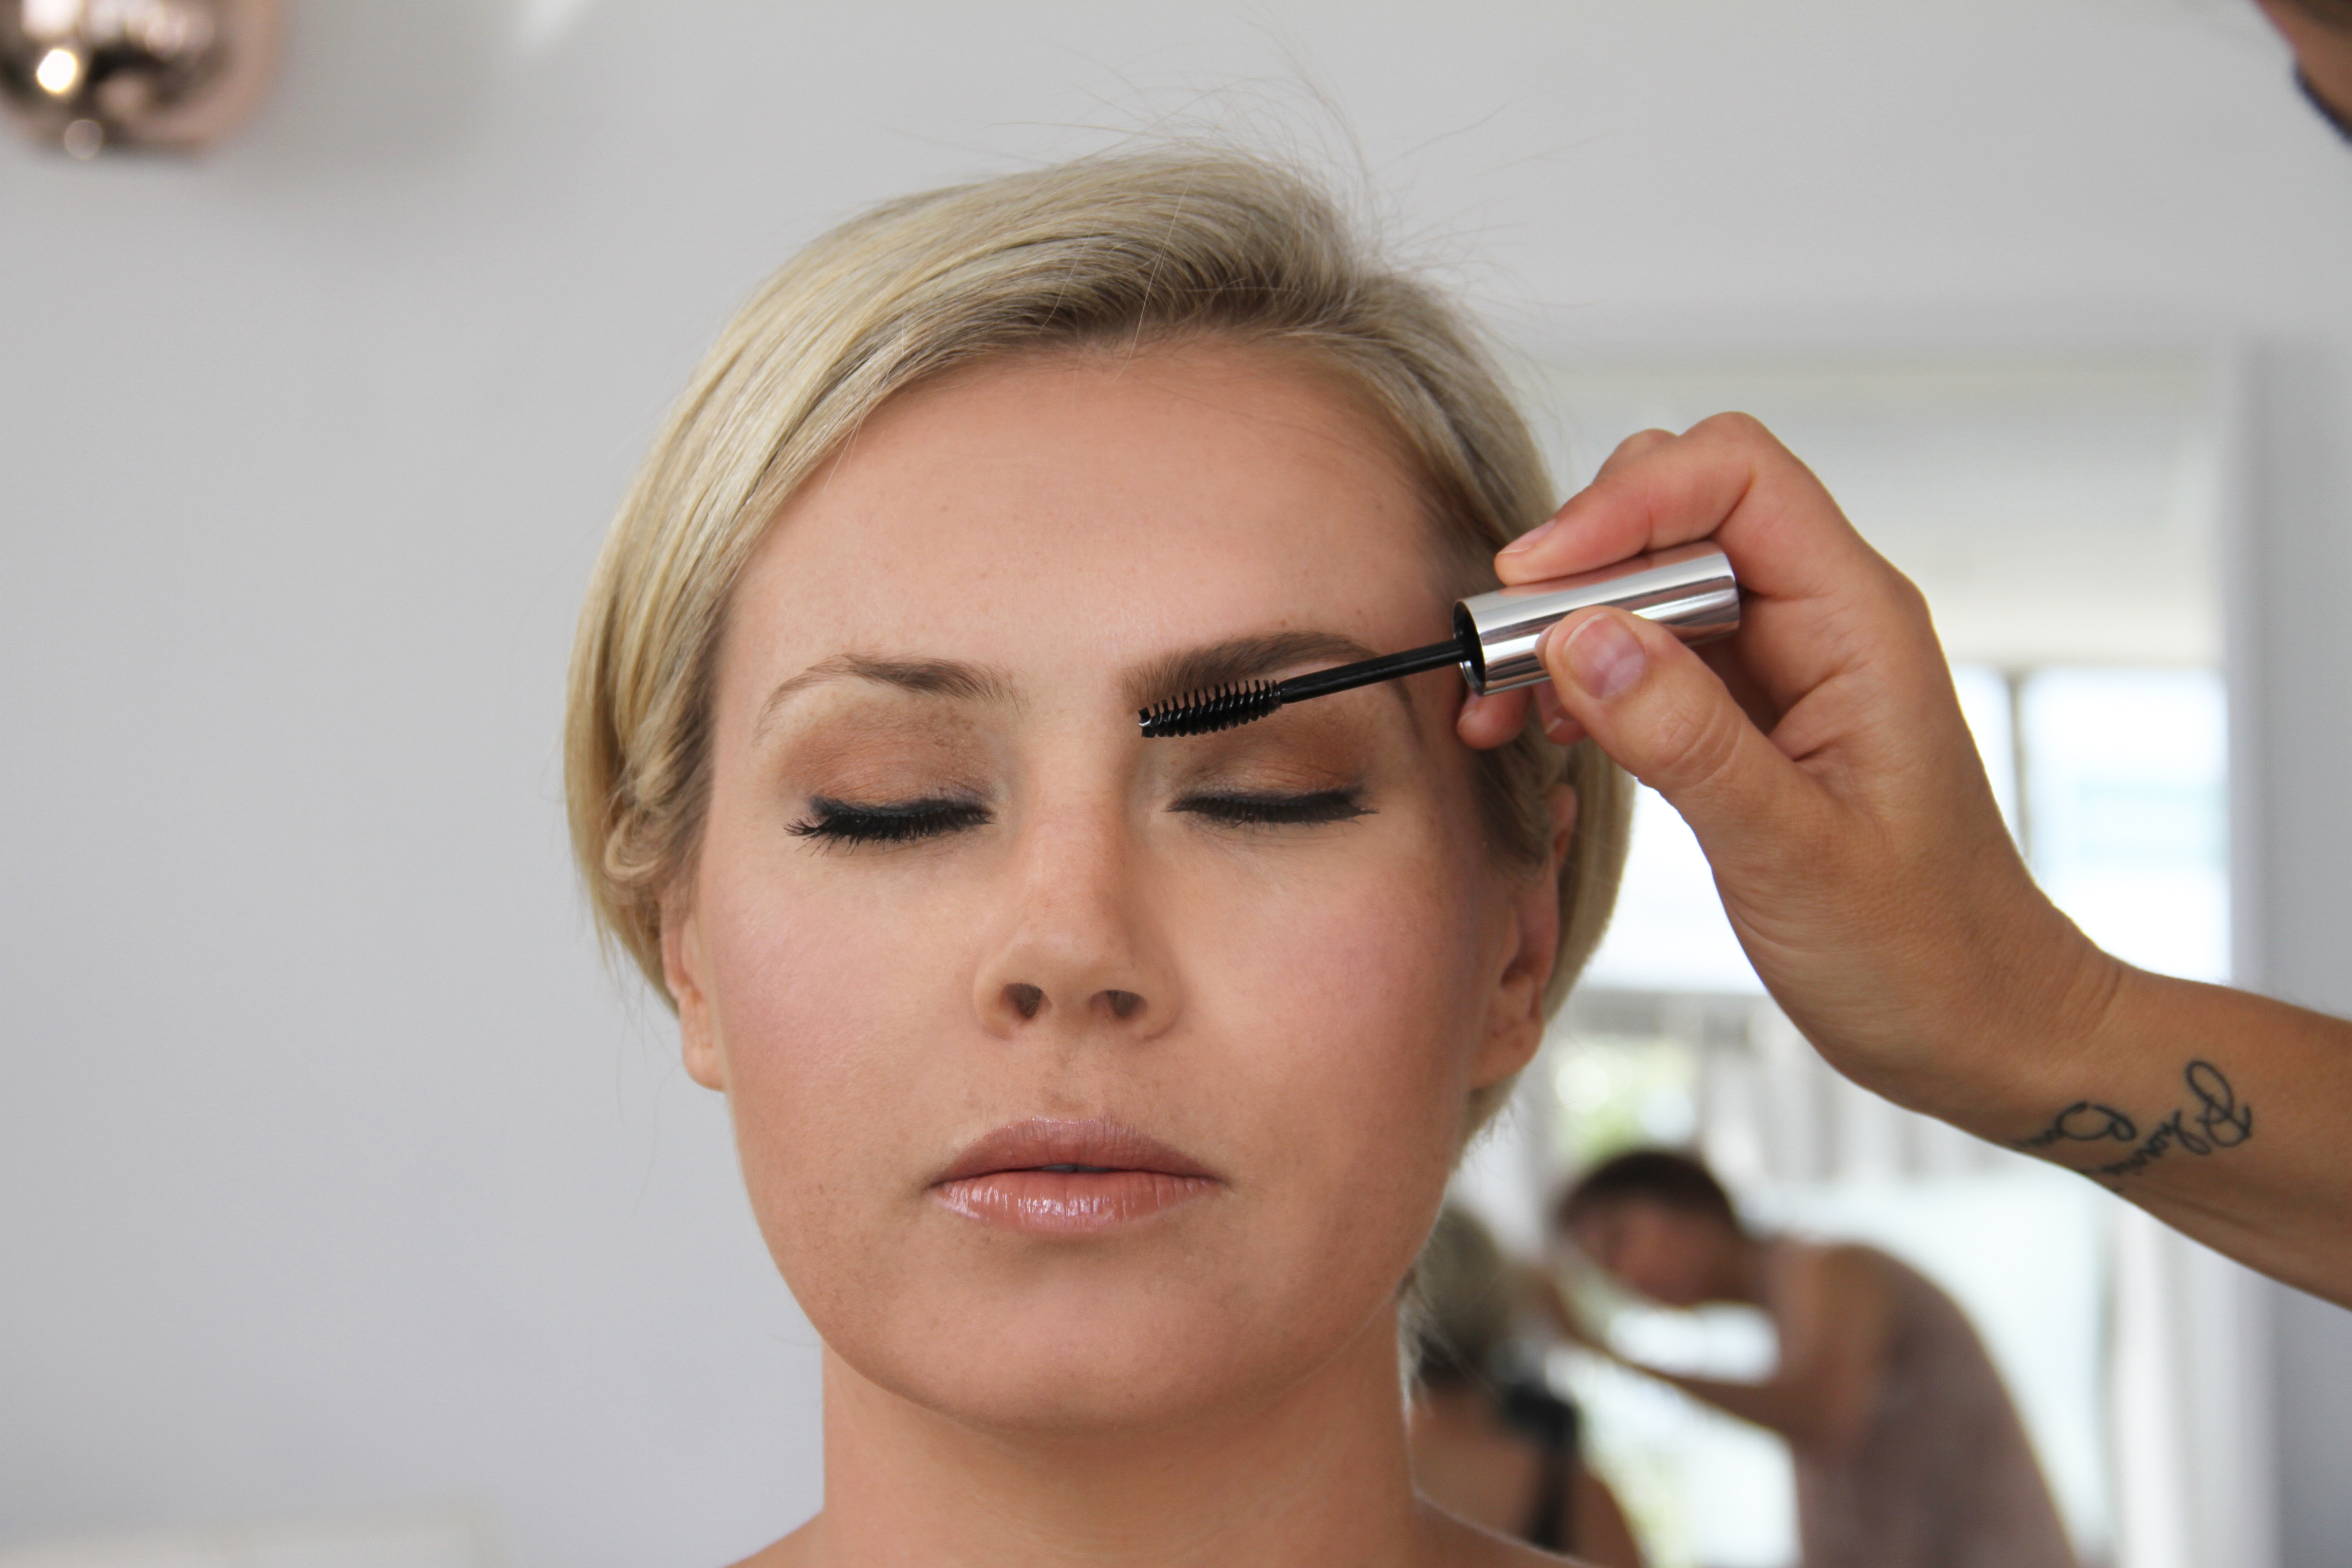
STEP 8: Set! Using a clear brow gel (Anastasia Beverly Hills Clear Gel $22), set brows by brushing gel upward and outward. You may try colored gel that matches your brows for a more filled in look.
STEP 8: Compare! What a difference! Makes my face look lifted and my eyes brighter. If you only do one thing in your makeup routine, brows are it!
